Audit Window
An Audit Window is a defined period of time during which an audit will be performed on a specified set of items or all items. For instance, you can create one Audit Window during which you will audit items at a particular location, and a second audit window during which you will audit items at a different location. You can create as many audit windows as needed.
An Audit Window is not required to use the Audit feature. An Audit can be completed using the Audit feature at anytime without first creating an Audit Window.
Create an Audit Window
- Click on the Audits > Audit Window ->

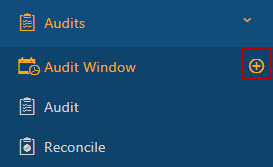
Or click on the Audit > Audit Window -> New button.

- The New Audit Window screen will appear.
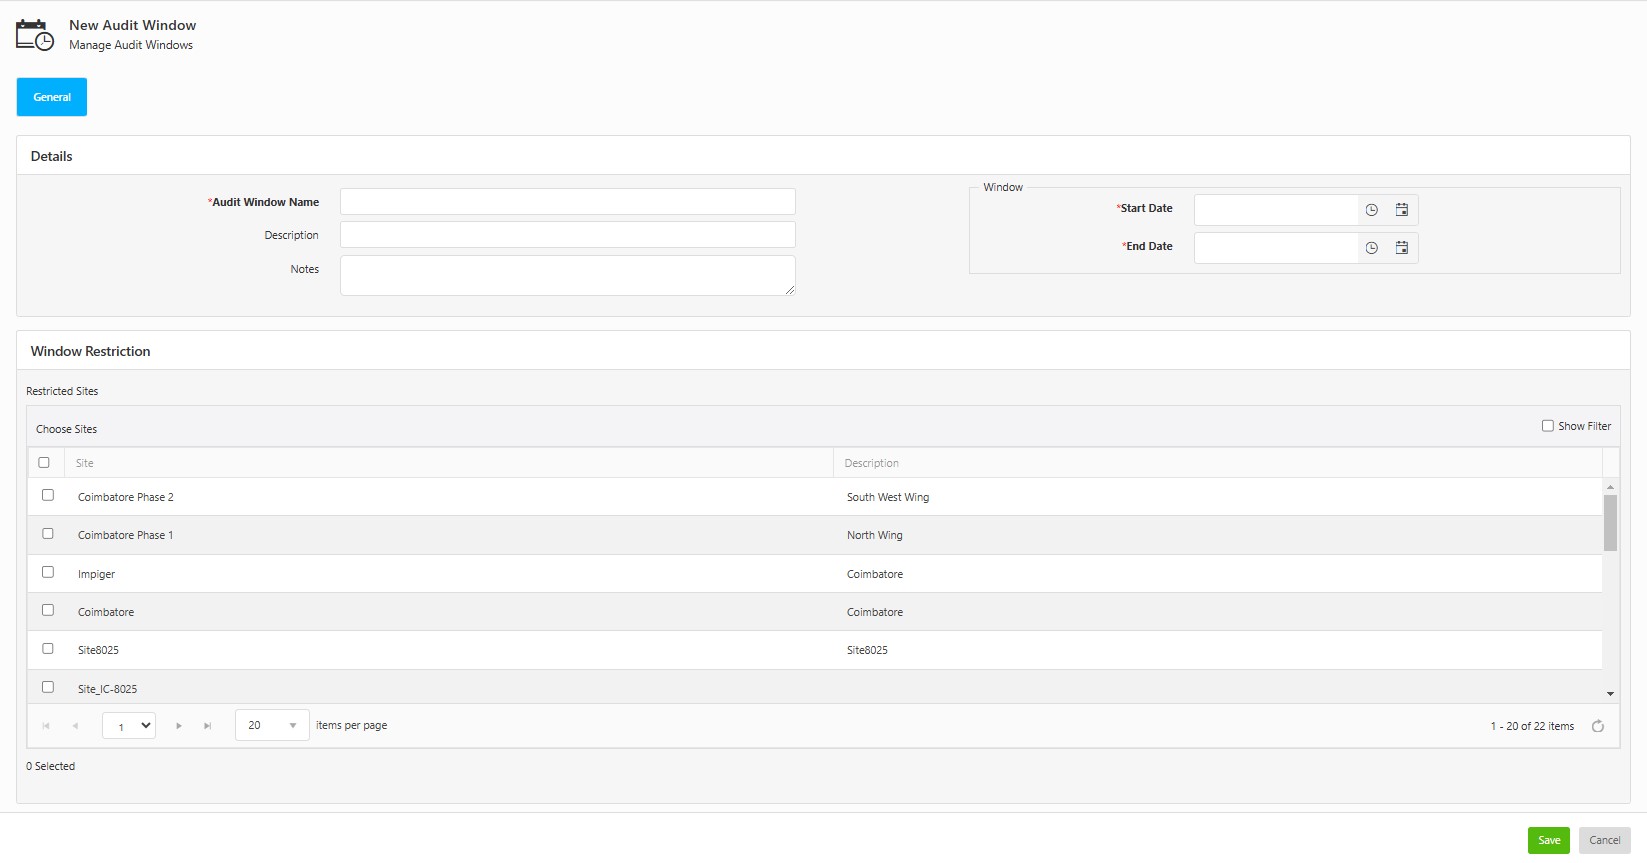
- Enter an audit window name (required).
- Enter a description.
- Enter notes, if any.
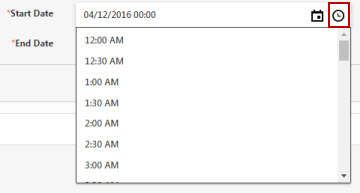
- Click on the calendar icon to select a Start and End Date.

- Click on the clock icon to select a Start and End Time.
Window Restriction Section:
- Click on the checkbox next to Site to select all the sites. In order to select the individual site, click on the checkbox next to each site. By default, no Sites are included in the Audit.

- Click on the Save button. The screen will navigate to the Audit Window screen. A message will appear indicating that the audit is successfully created and also it will display the audit number.
View Audit Window
The View Audit Window will list all the active audit windows. The Show Filter option allows you to narrow down the displayed results.

- The Export button
 allows you to export the complete list of Audit list in the Excel sheet.
 - The Print Audit Window progress report button
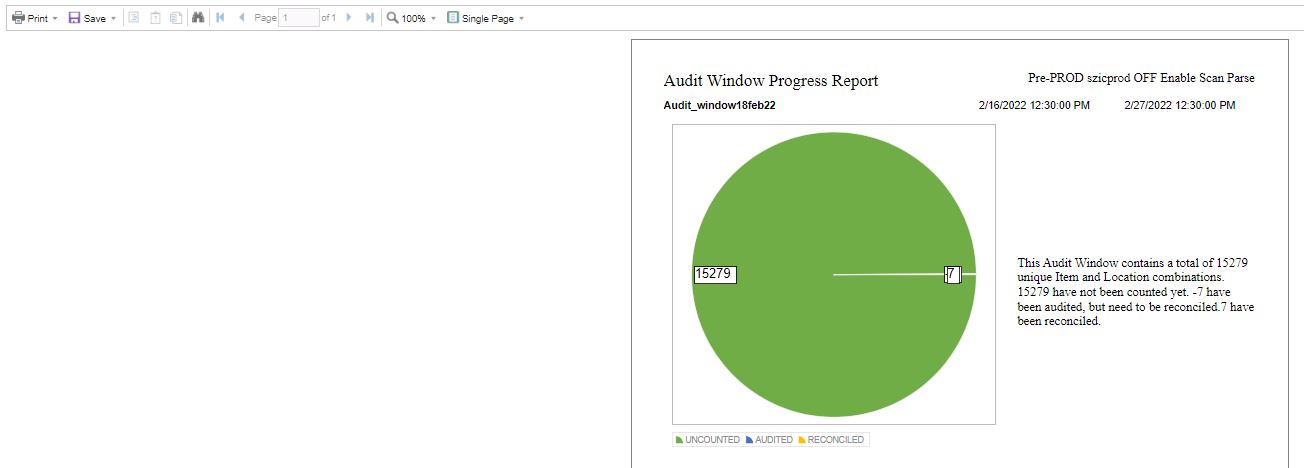
 allows you to print the audit progress in the form of a pie chart.
 - Select the Audit by clicking on the checkbox and click on the Print Audit Window Progress Report button.
- The report will be generated. The report will display total audits, completed audits, and reconciled audits.
Edit an Audit Window
Click on the Audit > Audit Window.
Click on the Audit Name. The Audit Name is a link that will navigate to the View/Edit Audit Window screen.
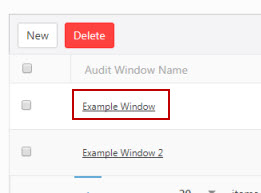
The Edit Audit Window screen will appear. Make the required changes.
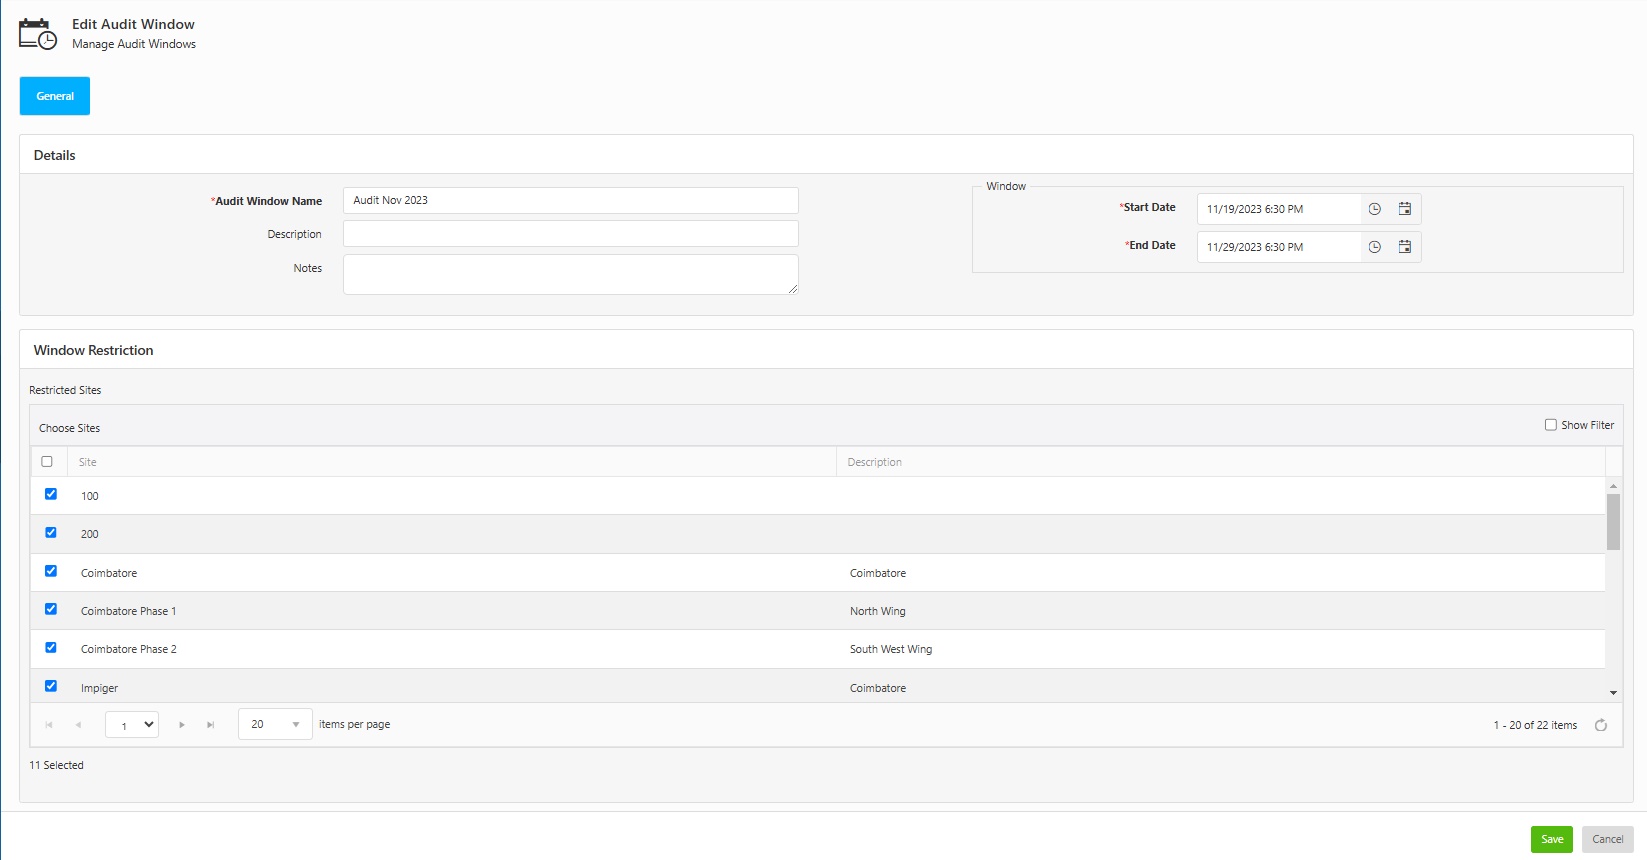
Click on the Save button.
Delete an Audit Window
Select the Audit to be deleted by clicking on the checkbox.
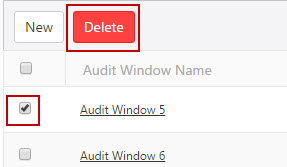
Click on the Delete button. A confirmation screen will appear.
Click on the Delete button on the confirmation screen to delete the audit.