Import Data
The Import Data function enables you to import data from external sources like .csv or .txt files into the program's database. This allows you to quickly add information to your database rather than having to manually add it when you are initially setting up your software.
Factors to Consider When Importing Data
List of Fields Required For Each Import
Factors to Consider When Importing Data
There are several factors to keep in mind when importing data:
- Data must be imported into the database in the following order: Site, Locations, Category, Customer, Vendor, Manufacturer, Unit of Measure, Item, Item Location, Item Vendor, Bill of Materials, Inventory, Check Out, and Reset Inventory.
- Some Imports can modify existing records.
- If your data normally resides in a different data format, you must first use your existing database software's File > Export or File > Save As function to translate the data to a .csv or .txt file.
- You must strip out all currency symbols, including (but not limited to) these examples: $, ¢ , ¥, £, §, or ¤, if you are about to import them into a numeric field, such as Cost, List Price, etc. They are permissible in text fields.
- Commas, sometimes used as "thousands" separators, should be removed from numeric fields.
- Commas are permissible in text fields only when residing within a pair of double quotes, which will cause them to be treated as normal text, not as field delimiters.
- If the import includes Site, Location, and Container, Container will be the priority over Site and Location. The Container must be mapped, and the import will add the quantity to the container, ignoring Location.
- If the import includes the Site and Location but no mapped Container, make sure to map the Site and Location, and the Import will add the quantity to the Location.
- If import includes only a Container without a Site or Location, make sure to map the Container. Import adds quantity to the Container.
Note: The container feature is scheduled for a future release.
Importing Data
- Click on the Settings > Import Data.
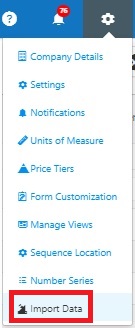
- The Import Data screen will appear.
Note
- Download v7 export scripts - These scripts are used for migrating data from InventoryControl 7.3. We recommend that you first upgrade to SQL Server Management Studio 2016 or newer to avoid issues with quotes, commas, and embedded returns. Link to download: https://docs.microsoft.com/en-us/sql/ssms/download-sql-server-management-studio-ssms?view=sql-server-ver15 . Refer to Migrating Data from InventoryControl 7.3 for more details.
- Download Import Tools - Refer to Import Tools
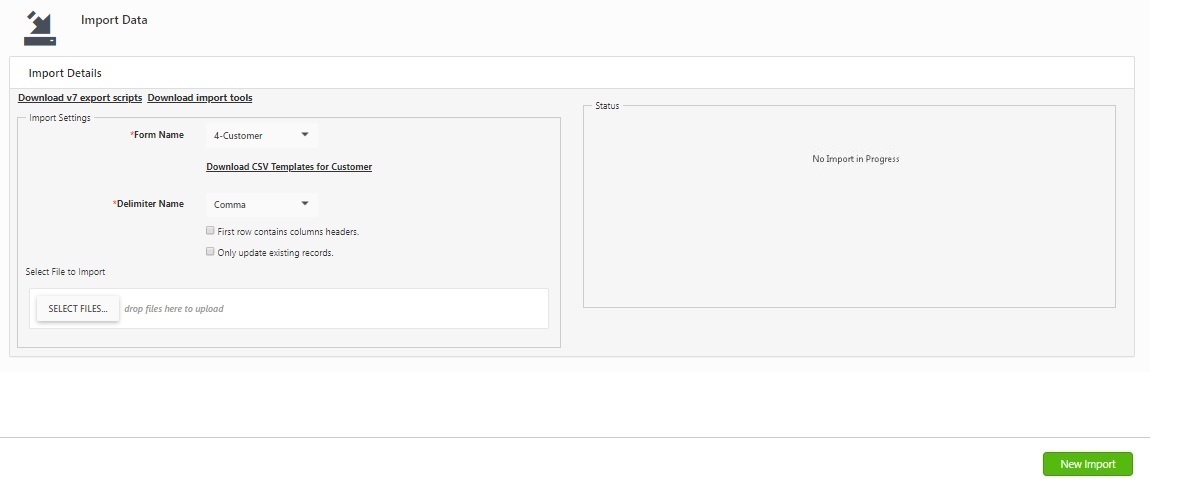
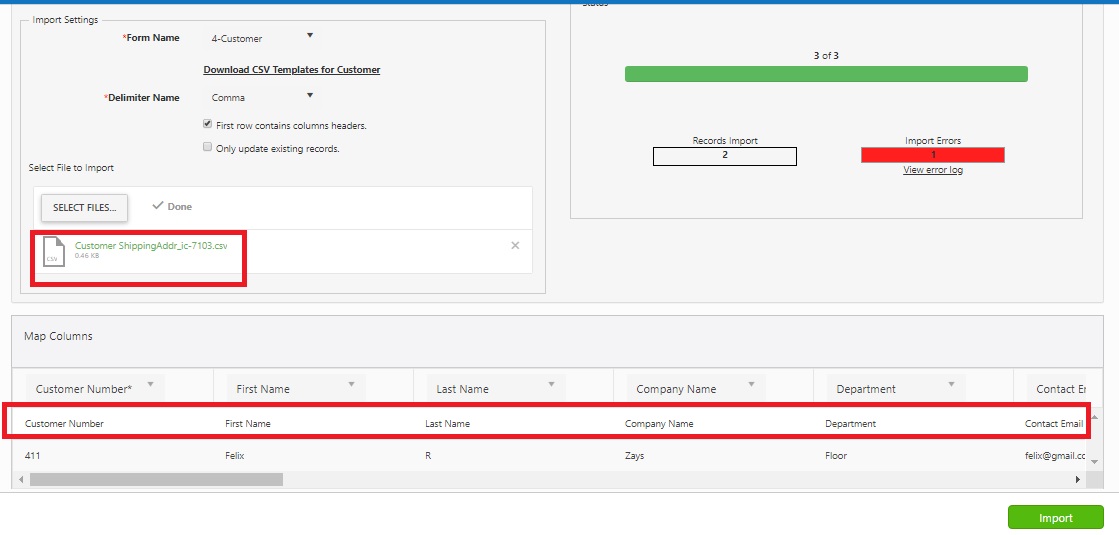
Import Settings
- Select the Form Name.
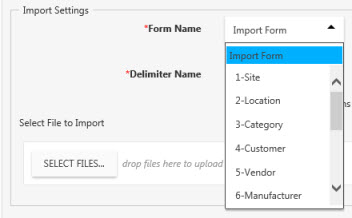
Note: Refer to the topic List of fields required for each import to learn more about the form names and the required fields needed when importing data.
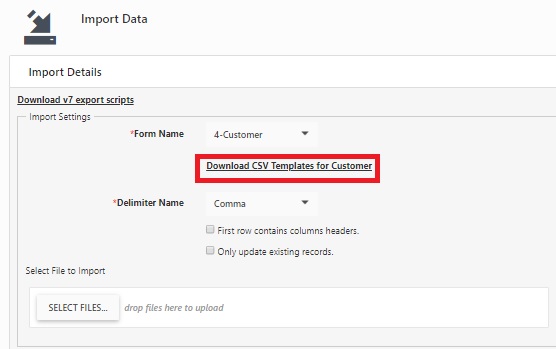
- Once you select the form name, a Download CSV Template link will appear. This link corresponds to the type of data you want to import. Click the link to download the CSV template. You can use this template to ensure that your data format is correct before importing.
- Select the Delimiter Name. The delimiter is a symbol that separates each of the data values. For example, if you select Comma from the Delimiter Name drop down, InventoryCloud will know that commas separate the data in your import file.
- First row contains column header: Click on the checkbox only if the first row in the file that you are importing contains the header names. On selecting the file, the columns will get automatically mapped.
- Only Update Existing Record: Click on the checkbox if you want to update existing data. This checkbox will appear only for the Customer.
Note:
- The Import option will import both New and existing Items/records for remaining form names.
- You must map the Mandatory (Required) Custom Field. Refer to Mapping Custom Field. If the custom field is not mandatory, then the mapping is also not mandatory.
Select Files to Import
- Click on the Select Files button to import the file.

- The selected file will appear in the Select File to Import section. The uploaded data will appear at the bottom of the page.
Important Note: Importing Customer CSV File - You can only enter Billing or Shipping address. Make sure to enter the “Billing” or “Shipping” under Address Type Column while importing the Customer details. If the Address Type column is empty, then by default, address type will be imported as a billing address.
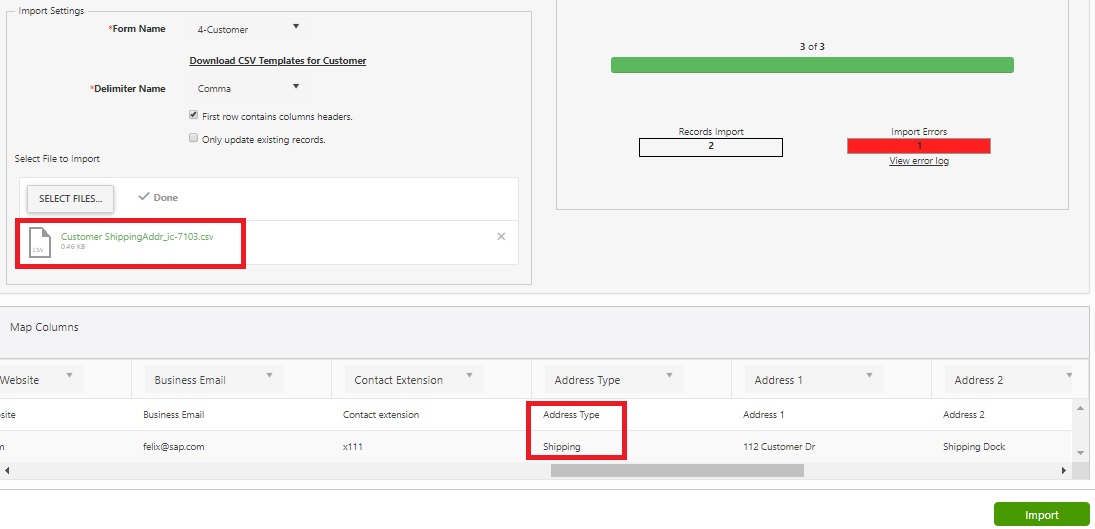
- In the Map Columns section, verify that each column is mapped to the correct field. If not, use the dropdown menu on each column to select the correct field.
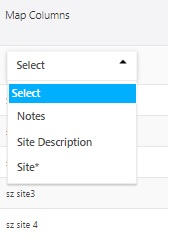
Mapping Mandatory Field - Make sure to map the mandatory field and if it is not mapped then the application will throw error indicating that the particular field is required and it should be mapped. Map the mandatory field and proceed further.

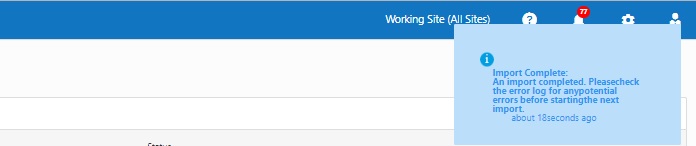
- When you are done mapping columns, click on the Import button. The import status will appear in the Status section:
- No Import errors

- Import errors
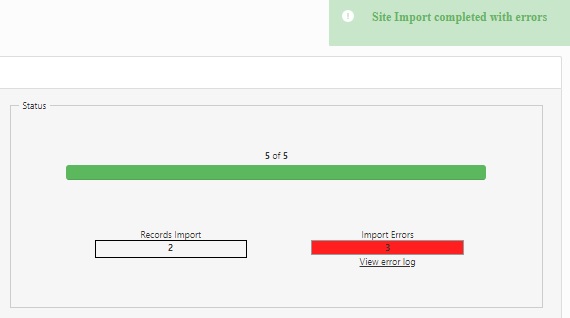
Click on the View error log to view the error details.

- A message will appear once the import data is successful. If you want to import more data, click the New Import button.

If there is any error in importing, then following message will appear:
List of Fields Required For Each Import
Below are the mandatory fields required for each import:
Note: Field names can be changed and additional fields can be made mandatory by users. The following are the default required fields in the system:
- Sites - Site.
- Location - Site, Location.
- Category - Category Name.
- Customer - Customer Number (Customer Number can be alpha-numeric).
- Vendor - Vendor Number, Vendor Name (Vendor number can be alpha-numeric. If you don’t have vendor numbers, you have Vendor Name in both the number and name field).
- Manufacturer - Manufacturer Name.
- Unit of measure (UOM) - Unit Name, Abbreviation, UOM Type (simple count, length, area, volume, mass, or time). The software comes with many standard units of measure already. This is only if you need to add something the software doesn’t have.
- Item - Item Number, Cost (can be 0), Type (Inventory, Assembly, Kit, Non-inventory, or Service), Stocking Unit, Sales Unit, Purchase Unit (if not each), and Cost Method (Moving Average, FIFO or LIFO).
If you require tracking (Serial Number, Lot, or Date Code), Vendor Number or Ref# (When adding inventory), or Customer Number (When removing inventory) place a T for True in the appropriate column on the line. - Item Location - Item Number, Site, Location (this is if you want to import a primary location for an item or import a min/max stock level for an item).
- Item Vendor - Item Number, Vendor Number, Vendor SKU, Unit (This is if you want to import an associated vendor with a specific item).
- Bill Of Material - Item Number, Sub-Item Number, Quantity.
- Inventory: Item Number, Site, Location, Quantity, (If the item has trackbys those are required) (Importing the quantity at a site and location for an item. Also any possible trackby information).
- Check Out - Item Number, Site, Location, Quantity, Vendor Number, or Customer Number (If the item has trackbys those are required).
- Reset Inventory - Item Number, Location, Quantity, and Site.
- Item Site - Item number and Site.
- Advance Shipping Notice (ASN) - Order Number and Item Number.
Note: Ensure that the item number, container, and purchase order (PO) are already available in the application before proceeding with the import process.
Additional Notes on ASN Import:
- Quantity: Required if the item is not a container type or tracked by serial number.
- Every record must have either Site and Location values or a Parent Container ID.
- Trackby Container ID is required when importing containers. Untracked containers are not supported in ASN data.
- Serial Number, Lot and Date Code are required depending on the item. For example: The Serial Number is required if the item is tracked by a serial number and it is not required if the item is not tracked by a serial number. The same logic applies to lot and date code trackbys.
- Site Name and Location Code:
- Top level containers: Like items always require a site name and location when they are not contained within another container.
- Contents within containers: Do not require a site name or location. Instead, they must include the Parent Container ID to indicate their location.
Import Tools
The Download Import Tools link on the Import screen allows you to download the following tools:
- Bulk Attachment Importer
- Active Directory LDP Extraction Tool
- Wasp Utility Config
- Utility Readme document
- Navigate to Settings > Import Data.
- The Import Data screen will appear.
- Click on Download Import Tools to download the necessary applications.
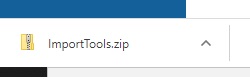
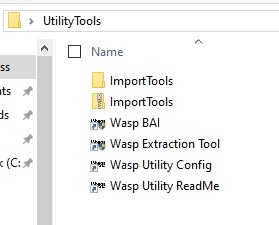
- The ImportTools.zip file will be downloaded.
- Extract the ImportTools.zip file. After extraction, a folder named UtilityTools will appear.m
- Open the UtilityTools folder and double-click on the file to start the installation process.
- The UtilityInstaller - InstallShield Wizard will open. Follow these steps in the InstallShield Wizard:
- Click Next to proceed.
- Read and accept the License Agreement, then click Next.
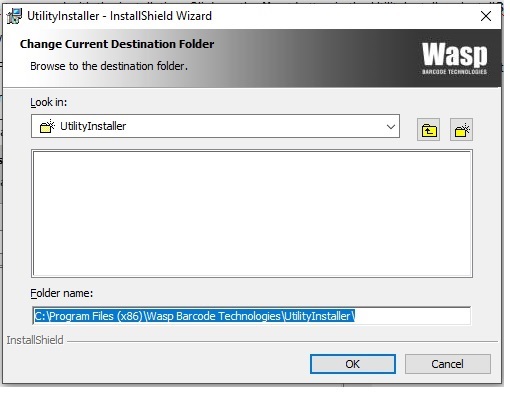
- Select a destination folder. Click Change to choose a folder, then click OK.
Note: Copy the Folder path for configuration. C:\Program Files (x86)\Wasp Barcode Technologies\UtilityInstaller\
- On the Ready to Install the Program screen, click Install.
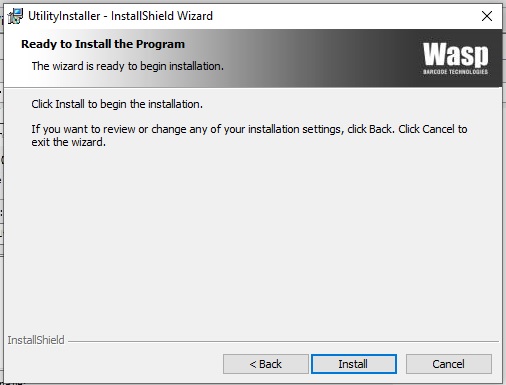
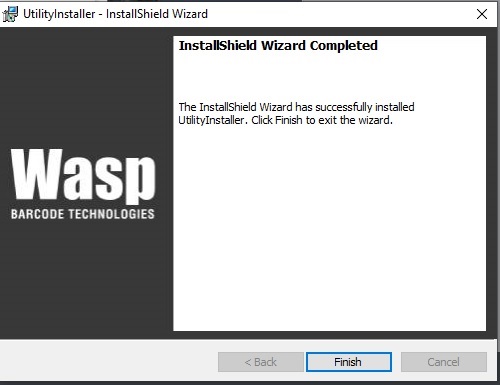
- Wait a few minutes for the installation to complete. Once done, click Finish to close the wizard.
Included Applications
- Upon installation, the following tools will be available along with the Wasp Utility Config and Utility Readme document:
- Wasp Bulk Attachment Importer
- Active Directory LDP Extraction Tool
Refer to the topics Bulk Attachment Importer and Active Directory LDS Extraction Tool for more detail.