Android Check In
The Check-In screen allows you
to Check-In inventory that has previously been Checked-Out
to one or more customers. While checking in inventory does not actually
add inventory (quantity) to an item, it does free up that inventory to
be checked-out to another customer or to be included in a pick order.
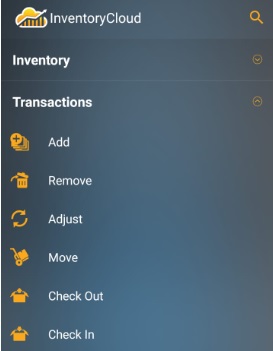
Tap on the Transactions >
Check In.

The Check In screen will appear.

Note:
- Fields that are followed by an asterisk (*)
are mandatory. Also, you can lock the field, refer Android
Pinning Data.
- The Magnifying Glass icon at the top of the
screen navigates to Search items
screen where you can Search
By Items or Search
By Site and Location. The Magnifying Glass icon next to
a particular field will navigates to the Search screen of that particular
field. For more details, refer Android
Search topic.
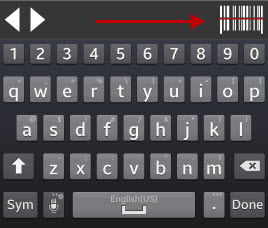
- You can use the keyboard to enter the information
in any field. Or If you want to scan a barcode, use the Barcode scanner.
Tap on the Barcode symbol, the scanner will appear. Scan the barcode
and the field will display the scanned barcode number.

Inventory Check In
- Enter the Item Number.
- The Item
Description, Site and Location will appear on selecting
the valid Item Number. You can also edit Site and Location details.
- Enter the Quantity.
- Select the Assign
To. The options are customer and vendors. By default,
tit will be set to Customer.
- Enter the Customer/ Vendors name.
- Enter Notes, if any.
- Tap on the Check
In button.
- A message will appear asking the user
if they want to capture the Signature. Tap on Yes or No button.
Depending on the InventoryCloud PC Mobile Settings options, you may be
prompted to obtain a signature or a signature may be required.
If you are prompted to obtain a signature, tap Yes
on the prompt screen.

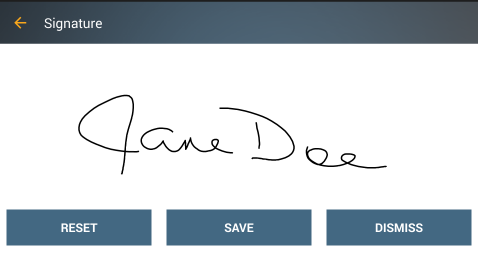
- In the Signature screen, you can sign and save.
Use Reset to clear the screen and sign again, Dismiss to close the
Signature screen without signing.

- A message will appear indicating that Item
is checked In successfully.


