Site Lookup
The Sites Lookup lists all sites in InventoryCloud. From this page, you can view all sites in your system, add additional sites or delete sites.
Edit a Site & Site-Item/Category Filtering
View Site Lookup
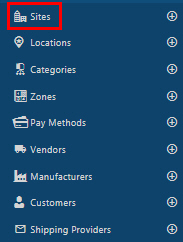
Click on Lookups -> Sites.
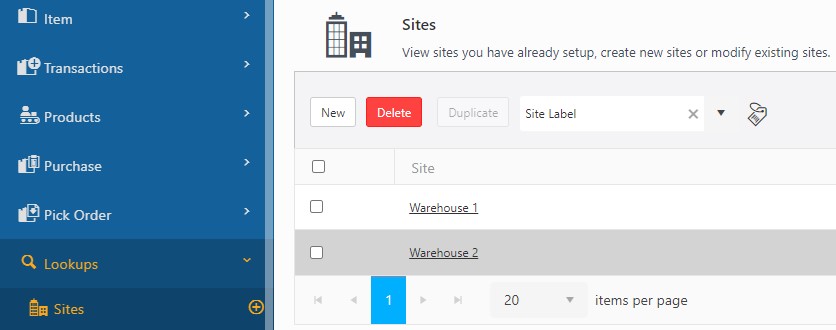
The View Sites screen will display the site, site description, and "has category restriction". The "Has Category Restriction" column will display yes if the site has an item-category restriction.

By default, the lookup page displays 20 items per page. Scroll through the pages using the navigation buttons at the bottom of the screen. Change the number of items listed on each page using the dropdown menu.
Note: You can change the numbers in the dropdown on the Options page.
The Site screen has the following functionalities:
- New - Click on the new button to add a site. Refer to the topic Add a Site or New Site.
- Edit Link - The site name link allows you to edit the information. Refer to the topic Edit a Site.
- Delete - The delete button allows you to delete sites. Refer to the topic Delete a Site.
- Duplicate - The duplicate button allows you to create a new site by duplicating existing site information. Refer to the topic Duplicate a Site.
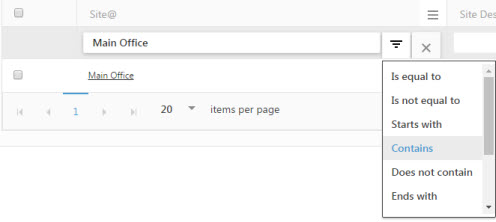
- Show Filter - When you click on the Show filter checkbox, a text box will appear below each column header. In these text boxes, you can input your search criteria to locate the specific information you're seeking.

Select the modifier by clicking the filter icon.
- Export (
 )- This feature enables you to export the listed sites to an Excel spreadsheet. It can export up to 25000 records. Customize the list according to your requirements using the filters option. Once you've filtered the list to your satisfaction, click on the Export icon. This will initiate the download of the report. In most web browsers, you can access the downloaded file through an icon at the bottom or edge of the browser window. For further guidance on locating your downloaded files, please refer to your browser's help resources. You can then save or modify the report as necessary within Excel.
 - Print Site Label - Select the site and click on the Print Site Label button to print the site label for a particular site.

Example - Site Label for sz site 1

Add a Site
- Click on Lookups -> Sites ->
 button or click on Lookups -> Sites -> New button.
- The New Site screen will appear.
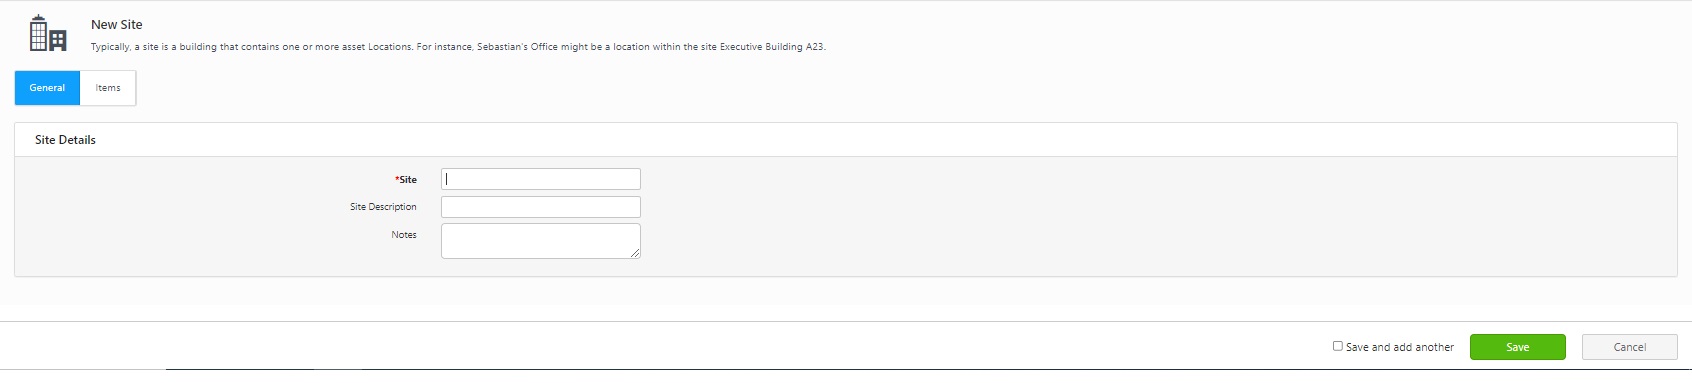
- General Tab
- Enter a site name (mandatory). The site name should be a unique alphanumeric identifier.
- Enter the site description. This is useful when the site value is cryptic (For example, Site "H7" could be described as "Hangar 7".)
- Enter notes, if any. A note is a text field available to record any additional information you might need about this site. Type directly into the field to add notes.
- Items Tab
Reference - Site-Item/Category Filtering and Working Sites and Site-Item/Category Filter.
In the Item/Category, there are two options - All and Selected.
- All indicates “All Categories”. By Default, All will be selected.
- Selected indicates "selected list of Item-categories".

On selecting the selected option, a list of allowed categories will appear and you can select the category/categories by which you want to filter the items at a site.

Click on the Select button.

- Click on the Save button. If you want to create another site, click on the Save and Add another checkbox before clicking on the Save button. In this case, the New Site screen will appear once you click on the Save button.
- A message will appear, indicating that the site is created successfully.
Duplicate a Site
- Click on Lookups -> Sites.
- Check the checkbox to select the site that you want to duplicate.
- The Duplicate button will become active. Click on the Duplicate button.

- The View/Edit Site screen will appear. Refer to View/Edit Site for more details.
- Make the required changes. Click on the Save button.
View/Edit Site
View/Edit Site allows you to edit the site name, site descriptions, and notes.
Site-Item/Category Filtering - Apart from editing site details, the View/Edit site allows performing Item/Category-Site filtering. For Item/Category-Site filtering, there is an additional tab - item. Item/Category-Site filtering allows web users to filter out items that are not typically managed at the site. This Site-Item/Category filter setting only affects the visibility of items without a quantity at a site. These are not restrictions, so if existing quantities of any items already exist at the site that contradict these settings, the quantity is visible anyway.
Note: This Item/Category-Site filtering applies to Add, Adjust, and Receive transactions. If the Working Site and Site-Item/Category filters are applied, then the item number dropdown on these transaction pages will display the items based on the selected Working Site and selected Site-Item/Category filter. Refer to the topic Working Sites and Site-Item/Category Filter.
- Click on Lookups -> Sites.
- Click on the site name link.

- The screen will navigate to the View/Edit Site screen.
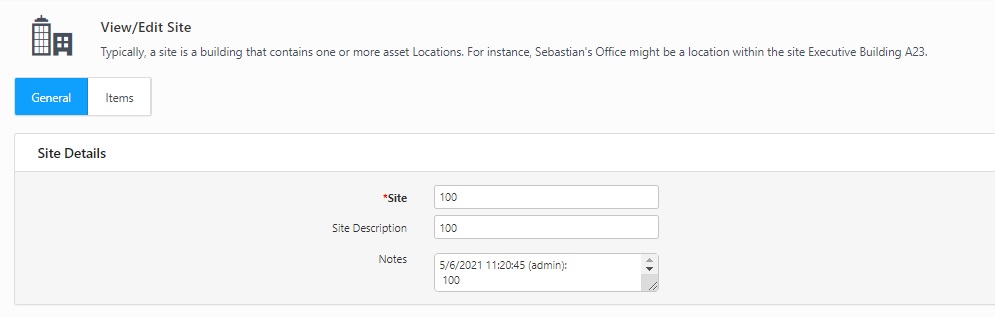
- You can edit the site details in the site detail section.
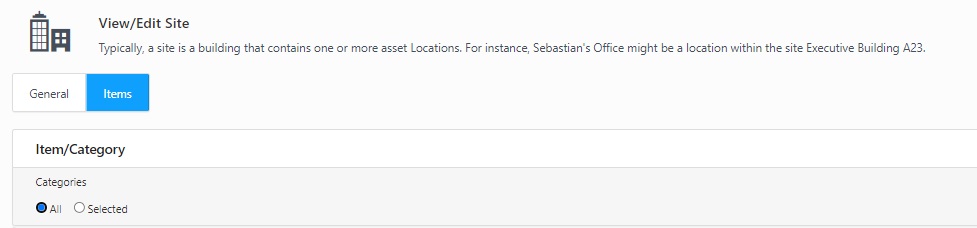
Items tab
- In the Item/Category, there are two options - All and Selected.
- All indicates “All Categories”. By default, All will be selected.
- Selected indicates "selected list of Item-categories".
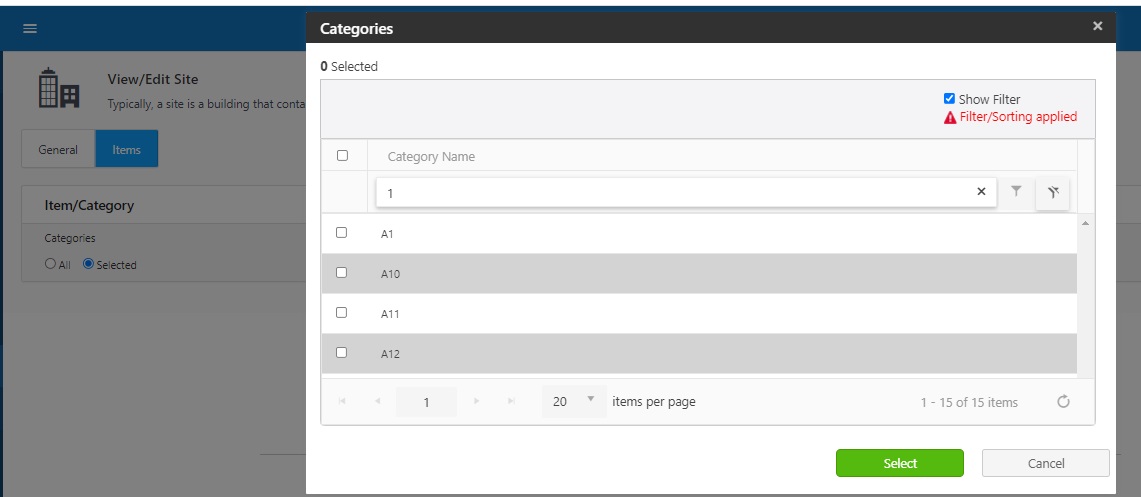
- On selecting the selected option, a list of categories will appear and you can select the category/categories by which you want to filter the items at a site. By doing this, if an Item/Category is not carried by a site then the user will not see the item at all.
- Click on the Save button.
- A message will appear, indicating that the site is updated successfully.
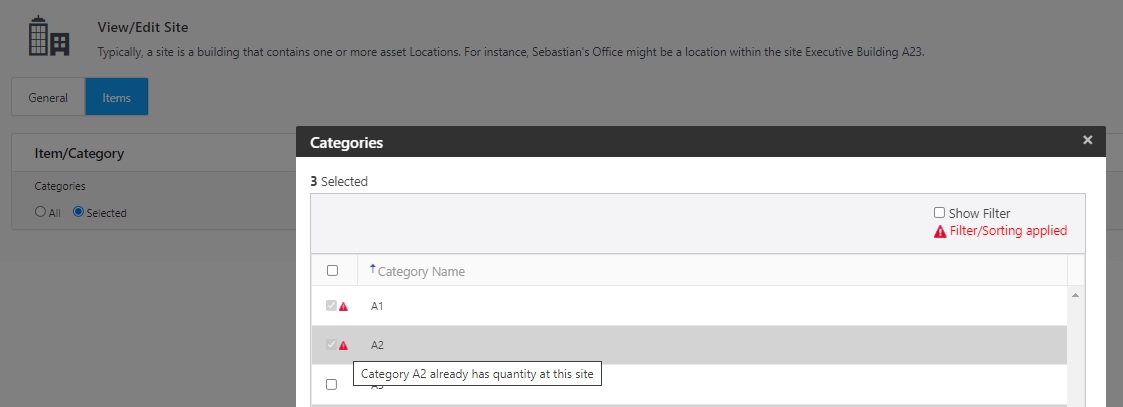
- If an item in a particular category has a quantity in it, then the category will be already checked and you will not be able to restrict the items in that particular category at a site. The warning message will display that the category has quantity at this site.
Delete a Sites
Note: Sites cannot be deleted if they are currently in use (have locations with items assigned to them.)
- Click on the Lookups -> Sites.
- Select the site and click on the Delete button.
- A pop-up message will appear asking for confirmation.
- Click on the Delete button again.
- A message will appear indicating that "1 site is deleted successfully".