New Vendor
The Add New Vendor Screen allows you to add new vendor details to your database. A Vendor is typically the company or organization from which you obtain an item you will inventory. If a manufacturer is also your Vendor for an Item, it is best to add the company in the software as both a Manufacturer and a Vendor.
When you are setting up your software for the first time, you may want to import your vendors rather than adding them one at a time through this screen. For information on importing information into your database, please refer to the Import Data topic.
To Add a Vendor
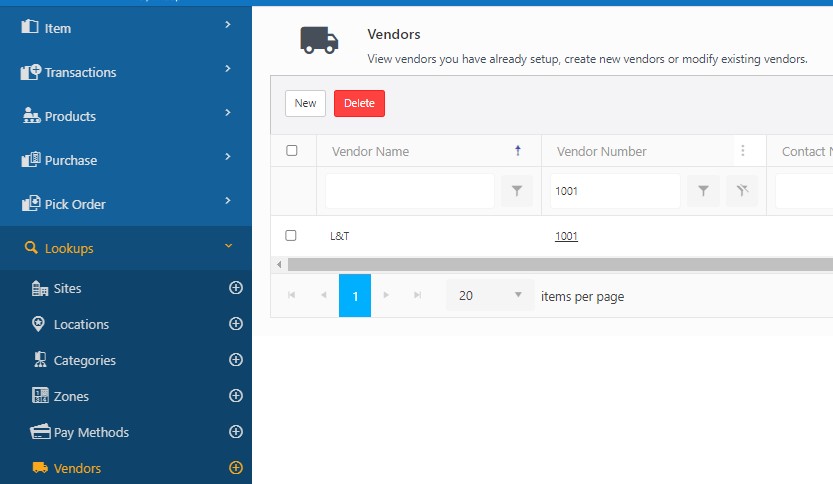
Click on Lookups -> Vendor -> New button Or click on Lookups -> Vendor ->  button.

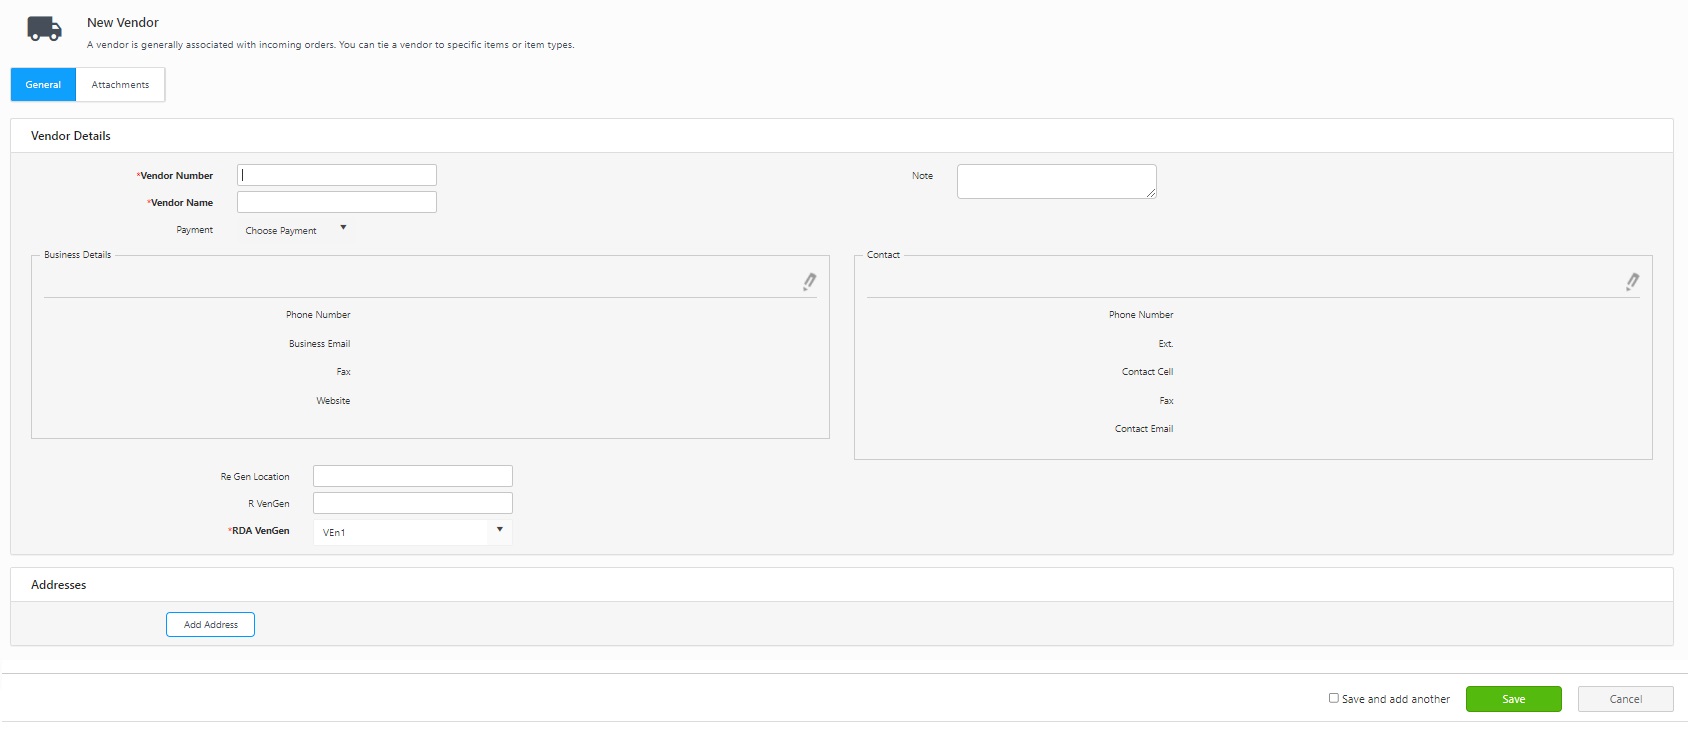
The New Vendor screen will appear.

General Tab
- Vendor Number - (Required) Enter a unique identifier for this vendor.
- Vendor Name - (Required) Enter a name for this vendor.
- Payment - Select the Payment option. The payment option will be automatically pulled once the user selects the vendor on the Purchase order page.
- Enter the Note if required.
Business Details
- Click on the Pencil icon -
 to enable the fields. Add Phone Number, Business E-mail, Fax, and Website details.
 - Click on the Update button. Use Cancel to close the fields without saving any changes.
Contact Information
- Click on the Pencil icon -
 to enable the fields. Enter the Phone Number and Extension (Ext.), Contact Cell, Fax, and Contact Email.
 - Click on the Update button. Select Cancel to close the fields without saving any changes.
Addresses
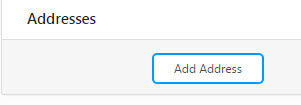
- You can add multiple addresses. Click on the Add Address button.

- The Address related field will appear.

- Select the type of address in the Address Type field. The options are Vendor Billing and Vendor Shipping.
- Enter the address information in the fields provided.
- Click on the Update button. Select Cancel to close the fields without saving any changes.
- Click on the Add Address again to add another address.
To Edit Address, click on the pencil icon -![]() . Make changes as needed, the select the Update button.
. Make changes as needed, the select the Update button.
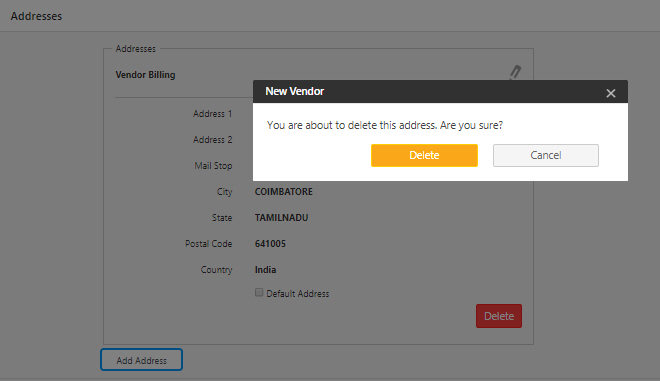
To Delete the Address, click on the Delete button. A confirmation screen will appear. Click on the Delete button again.

Attachment tab
Click on the Attachment tab. To attach files, click on the Attach Files button.
Click on the Select Files button. Browse and select the file. Click on the Attach button.

The attached file will appear as shown below.

The file name can be edited by clicking on the Edit button. Edit and then click on the Update button.

To delete the attached file, click on the Delete button.

Custom Fields
Add the details in the Custom Fields.
Click Save. If you want to create another vendor, click the Save and Add another checkbox before clicking the Save button. In this case, the New vendor screen will appear once you click the Save button.
A message will appear, indicating that the vendor has been created successfully.
Refer to the topic Vendors Lookup under Lookups for more details.