Scheduled Reports
This screen allows you to view all reports that have been set up to run on a recurring schedule.
Accessing the Scheduled Reports Screen
Note:
- Always check the Time Zone setting (Administration > Settings > Localization Settings) before scheduling reports. If the time zone is changed after scheduling reports, review the report schedules and adjust them accordingly.
- Note on Limits that apply to Scheduled reports:
- Scheduled Reports are limited to 64K records with normal formatting.
- Scheduled CSV Reports are limited to 250K records.
Accessing the Scheduled Reports Screen
Select Reports > Scheduled Reports.

Schedule Reports screen will appear.
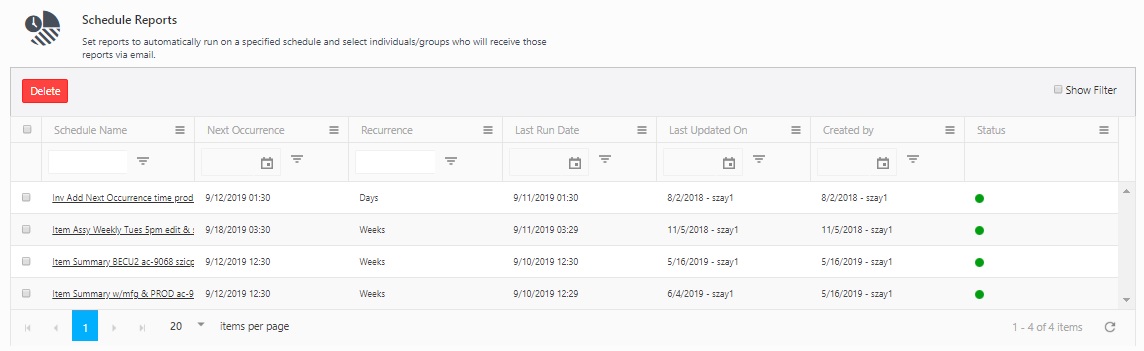
The screen will list all the scheduled reports. The screen will display the Next Occurrence, Reoccurrence, Last Run Data, Last Updated Date, Created By and Status (Green indicates Active and Red indicates Inactive).
Edit a Scheduled Report
Select Reports > Scheduled Reports.
Schedule Reports screen will appear.
Click on the Schedule Name link.
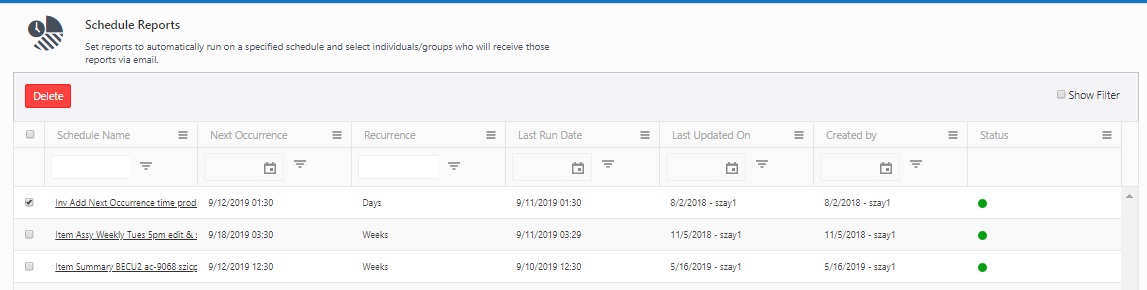
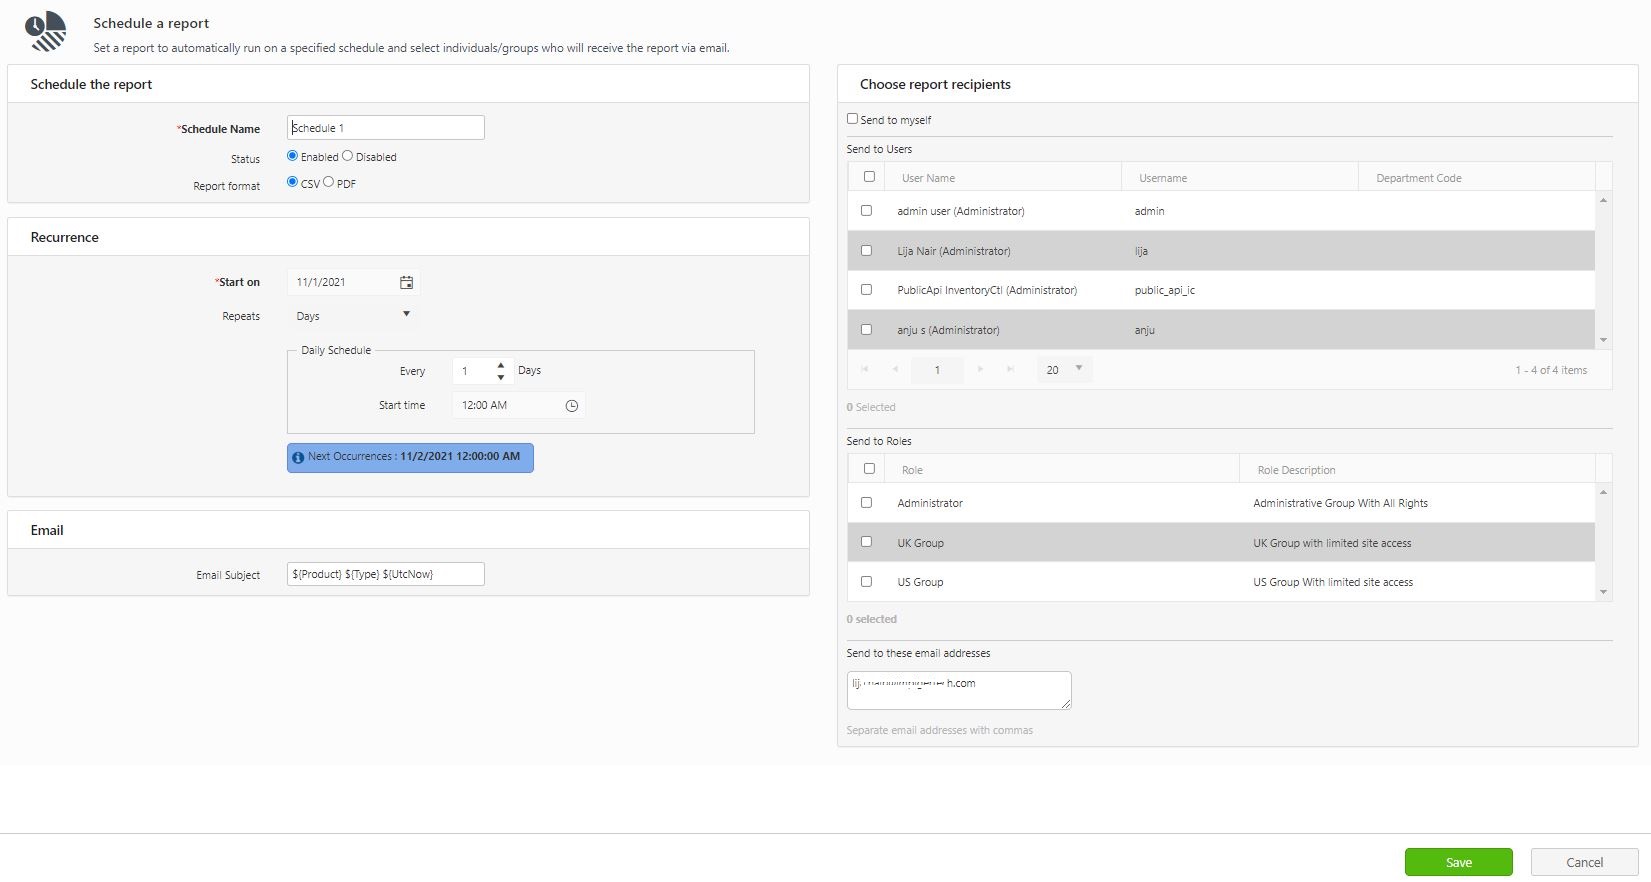
The Schedule Reports screen will appear. Refer Schedule Reports.
Edit and Save the change.
Delete a Scheduled Report
Select Reports > Scheduled Reports.
Schedule Reports screen will appear.
Select the scheduled report by clicking on the checkbox.
Click on the Delete button.
A popup message will appear asking for confirmation.
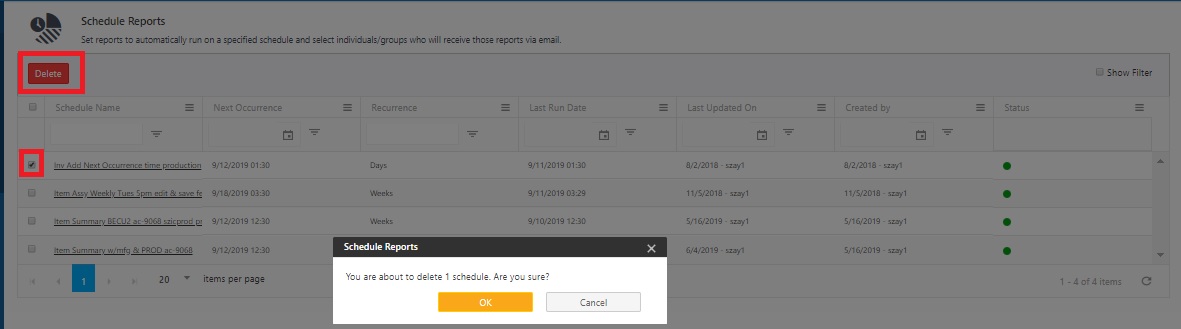
Click on the OK button.