The View Build Orders screen allows you to view all Assembly Items that are in the process of being built.
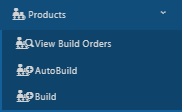
Click on the Products > View Build Orders.

The Build Orders screen will
appear.
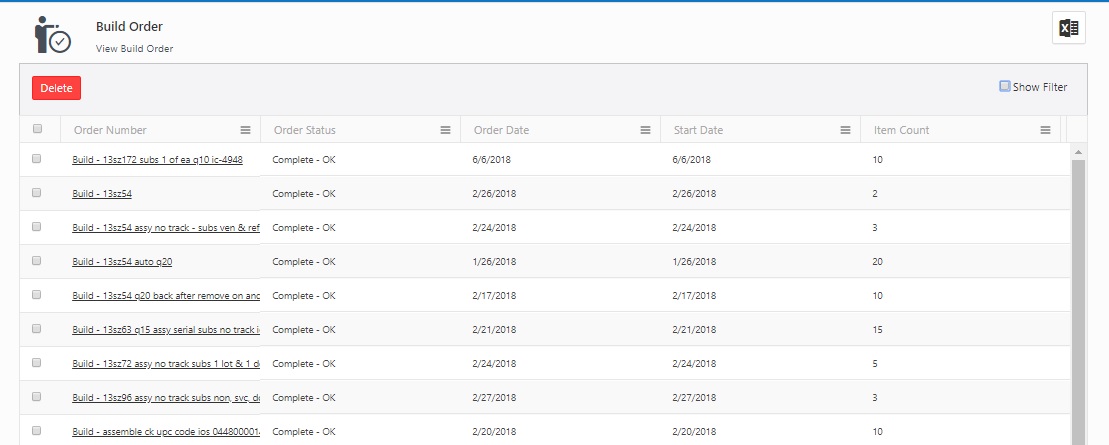
By default, the lookup page displays 20 items per page. Scroll through
the pages using the navigation buttons at the bottom of the screen. Change
the number of items listed on each page using the drop down menu. Note: You
can change the numbers in the drop down on the Options page.
When you click on the Show filter checkbox, a text box will appear under each field where you can type the search text to find the desired detail.You can also use the modifier by clicking the filter icon:

This option allows
you to export the list of Build Orders to an Excel spreadsheet.You can
export up to 25000 records and also allows you to customize the list as
needed using filters/custom views/grouping and then export the information
to Excel. Filter the list as needed, then select the Export icon - ![]() . The report will get downloaded and can be accessed
from the icon at the bottom of the screen. Click on the icon and select Open to view the report. You can save or alter the report
as needed in Excel.
. The report will get downloaded and can be accessed
from the icon at the bottom of the screen. Click on the icon and select Open to view the report. You can save or alter the report
as needed in Excel.

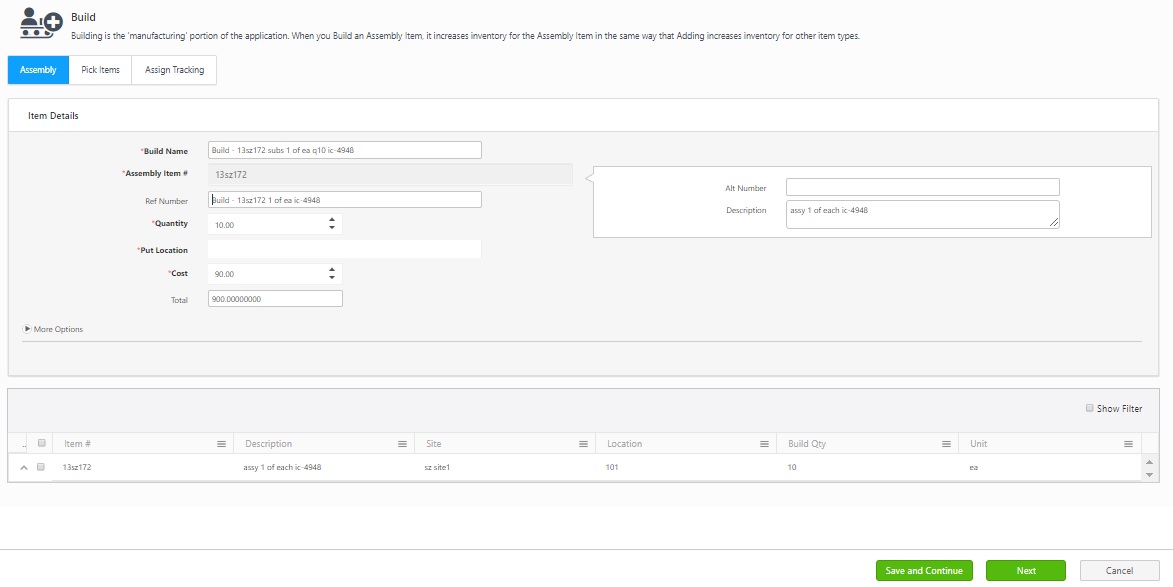
Assembly Tab
Note: The Save and Continue button will appear only for Assembly and Pick Items tab. You can Save the changes by clicking on the Save and Continue button.
Pick Items
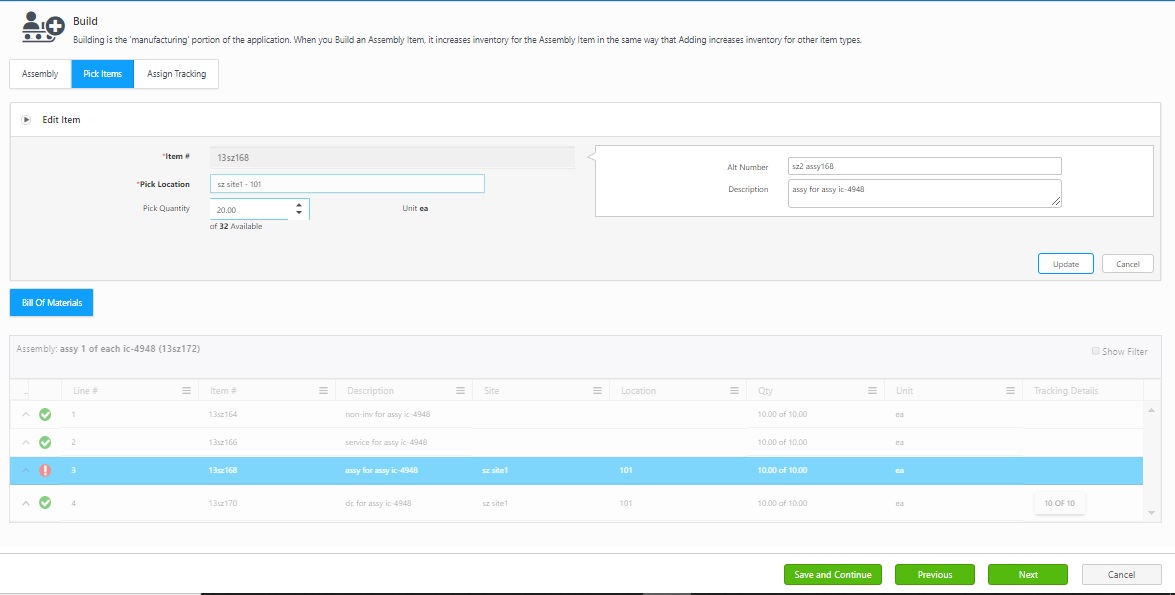
Note: The Save and Continue button will appear only for Assembly and Pick Items tab. You can Save the changes by clicking on the Save and Continue button.
Note: The Assign Tracking tab will not open if there is any error in the Pick Items. A message will appear indicating the error in the Pick Items.

Assign Tracking
Click on the Items under Bill Queue and the information related to the selected Item will get populated in the Assign Tracking grid. Make the changes and click on the Update button.
![]()
For more information, Refer Build Assembly Item.
