New Location
The Add Location page allows you to add a new location to your database or edit an existing location. Locations are places within a particular site where an Item resides.
Following are the steps to add a New Location:
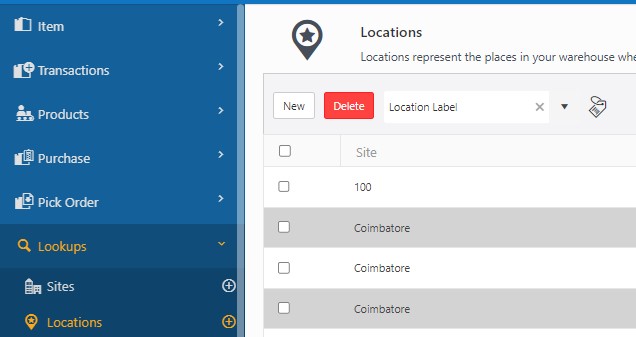
Click on Lookups -> Locations -> New button or click on Lookups -> Locations ->  button.

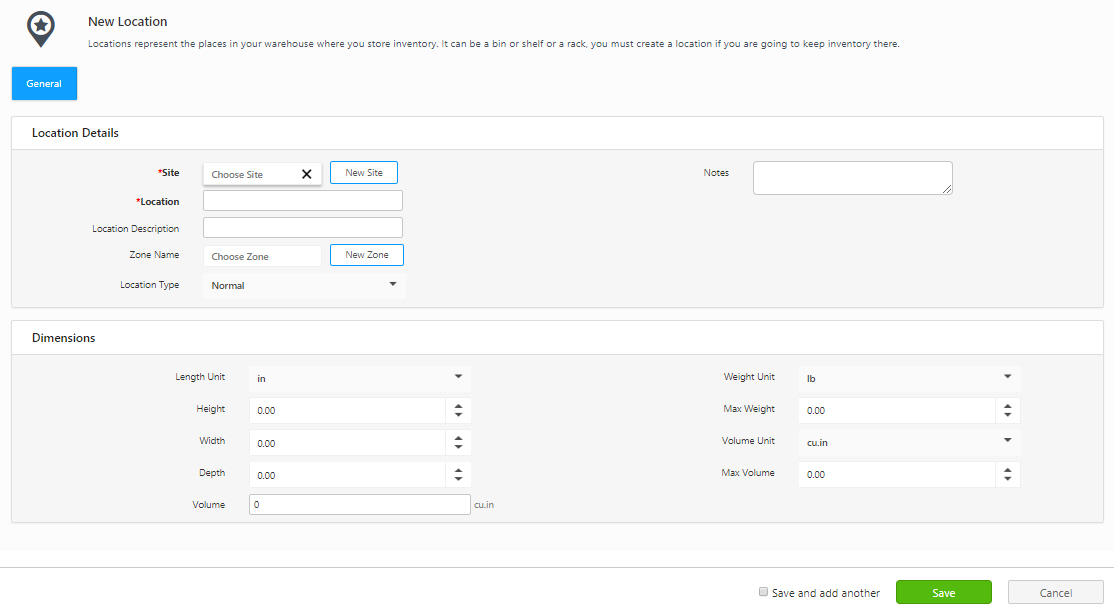
A new location screen will appear.

Location Details
- Site (Required) - Enter the Site in which this Location is located. Enter a partial value in the field. A dropdown will appear with departments matching the entered data. If the site has not yet been added to the database, click on the New Site button and it will navigate to the New Site screen under Lookups.
- Location (Required) - Enter the Location name. This name must be unique within the Site.
- Location Description - Enter a brief description of this site. This is useful when the Location value is cryptic (For example, Location "A7B2" could be described as "Aisle 7 Bin 2".)
- Zone Name - If you want to include this location in a zone (a group of locations), enter the zone name here. You can add a new zone by clicking on the New Zone button.
- Location Type - Select the location type. Options are Normal, Pick Only, Receive Only, and Repair/Inactive.
- Notes - This text field is available to record any additional information you might have about this Location.
Dimensions
- Select the Weight Unit.
- Enter the values in the Height, Width, and Depth fields. The Volume in the Volume field will be calculated based on the values entered in the Height, Width, and Depth fields.
- Select the Max Weight Unit. Enter the Max Weight.
- Select the Volume Unit. Enter the Max Volume.
Click on the Save button.
- If you want to create another location, click on the Save and Add another checkbox before clicking on the Save button. In this case, the New Location screen will appear once you click on the Save button.
A message will appear, indicating that the location is created successfully.
Refer to the topic Location lookups for more details.