Auto Build Assembly Item
The Auto Build feature eliminates most of the steps generally required for a Build Assembly Item to streamline the process. Since most of the steps have been removed, there are limitations to which Assembly Items can be automatically built. Most of the limitations are related to the sub-items that make up the Bill of Materials. The limitations are as follows:
- The items in the Bill of Materials should be located only in one location that the user can access, or have only one primary location in the currently selected working sites.
- The items in the Bill of Materials should not have any required track-by fields.
The reason for these limitations is that the Auto Build process will automatically select and remove the Bill of Materials for the Assembly item, but it can only do so if there is no ambiguity in the inventory needed to be removed.
Keep in mind that while you can add Assembly Items through the Adjust and Audit functions, doing this will not affect the inventory amounts for the sub-items. You should only use these functions to add Assembly Items if you intend to increase the inventory of an Assembly Item as a result of a return or an audit discrepancy. To effectively raise the inventory for an Assembly Item and simultaneously decrease the inventory of its sub-items, utilize the Build or AutoBuild feature.
To Auto Build Items
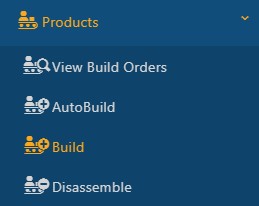
- Click on Products > Build.

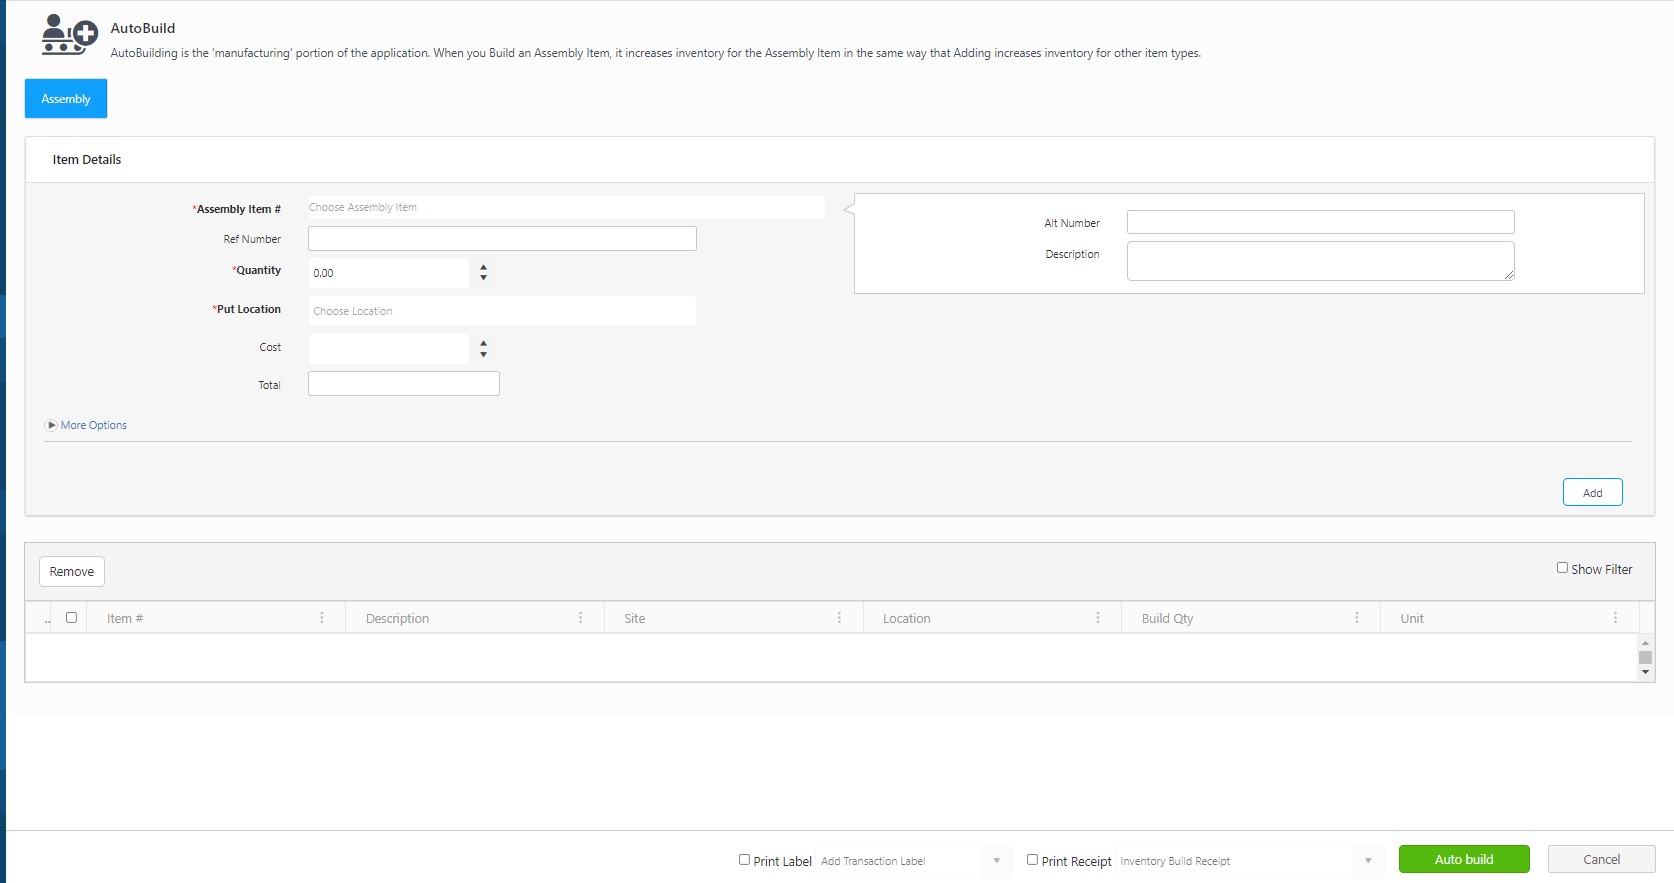
- The Auto Build screen will appear.

- Assembly
- Assembly Item # - Choose/Enter the Assembly Item you want to autobuild. The Alt Number and Description will populate based on the Assembly Item you select.
- Reference Number - Enter the reference number.
- Quantity - Enter the quantity you want to build.
- The Cost is automatically calculated based on information entered for the components. This Cost reflects the cost of the entire Assembly Item (including sub-items). Cost is per build and is a required field. The Total Cost is the total cost based on the quantity being built.
- Put Location - Enter a Put Location for this Assembly Item. If a primary location was set for this Assembly Item on the New/Edit Assembly Item screen, the location will automatically appear here. You can change this location as needed.
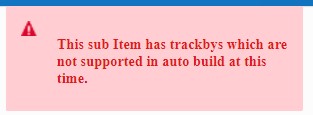
Note: Autobuild is not supported for the sub-item that has TrackBys. A message will appear indicating the same on clicking the Autobuild button.

- Click on the More Options. Enter Notes, if any.
- Click on the Add button to add the item.
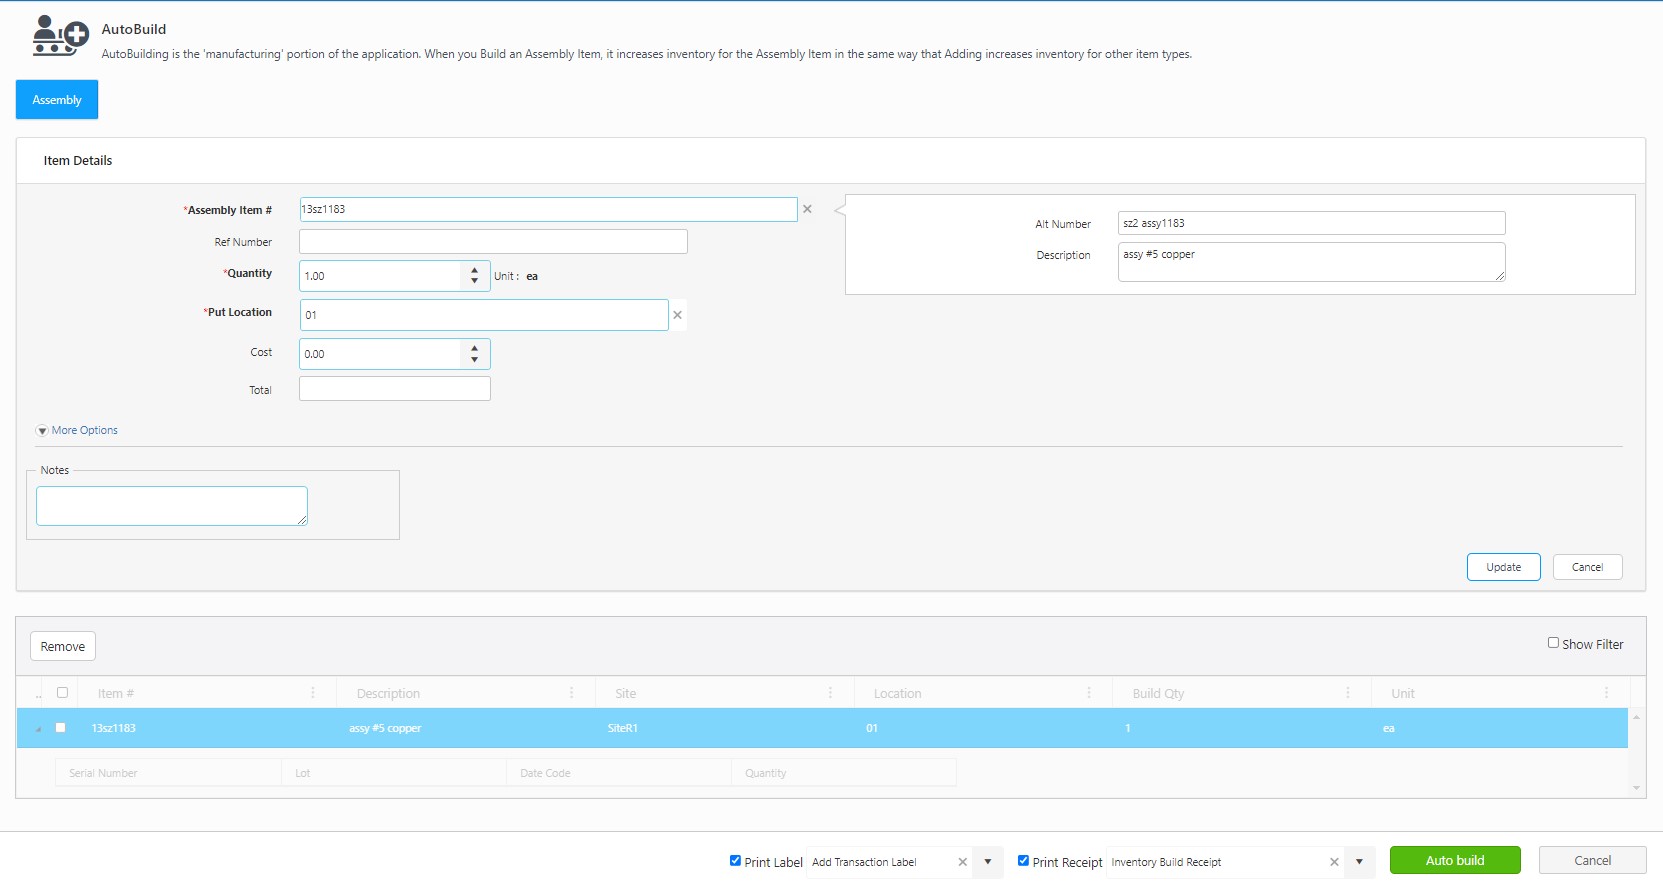
- To update the item details, click on the item in the bottom grid. The item details will be populated in the Item Details section. Make the required changes and click Update.

- Print Receipt - Click on the checkbox to print a receipt. If you want to change the receipt header name, enter the name in the text box next to the checkbox. Note: In case the pop-ups are blocked and you are unable to view the print receipt, Refer to Popups and Redirects to allow pop-ups and to view the print receipt.

- Print Label - To print the label, make sure to check the Print Label checkbox.

- Click on Auto build.
FAQs - Refer to Knowledgebase - Knowledgebase > Cloud for FAQs. Example: AutoBuild says "This sub Item does not have enough quantity to fulfill the request"
Note: Use of the resources described here requires internet access.