Move
The Move screen enables you to transfer items or containers within the system from one location to another. When creating an item, you can specify its current location and designate its destination. Each transaction is limited to moving the selected items to a single location.
Additionally, you have the option to move an item into a container, transfer one container into another, and view the hierarchy of containers within containers or items within containers on the View Container screen. The container type and quantity are managed through the New Container Type and Add Container Quantity screens. The user role should have container permission enabled to use the container feature.
Moving inventory items using this software helps you to keep track of items moved from one location to another. You can only move inventory that is listed in the system with a quantity greater than 0 (quantity is added on the Add Inventory or Receive Inventory screen.)
Inventory can also be moved on iOS and Android devices.
Site-Item/Category Restrictions on the Move Transaction
Move Inventory
- Select Transactions > Move.
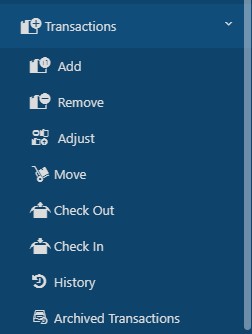
The Move screen will appear.
Note: Several fields in this section can be "locked". When a field is locked, it will retain the information you entered through subsequent transactions. This is useful if you are adding multiple items to a location or checking out multiple items to a single customer. To lock an individual field, click on the lock icon. You can select the Lock All button to quickly lock all fields that have the icon. Select Unlock All to unlock the fields, allowing you to add new information. Click here for information on how to Lock fields.
Move Items Grid
- Move Options - You can perform the following types of inventory moves:
- Item to a Container: Move individual items into a designated container.
- Container to a Container: Transfer an entire container into another container.
- Container/Item to a Location: Move a container or item to a specified location.
Moving an item to a container
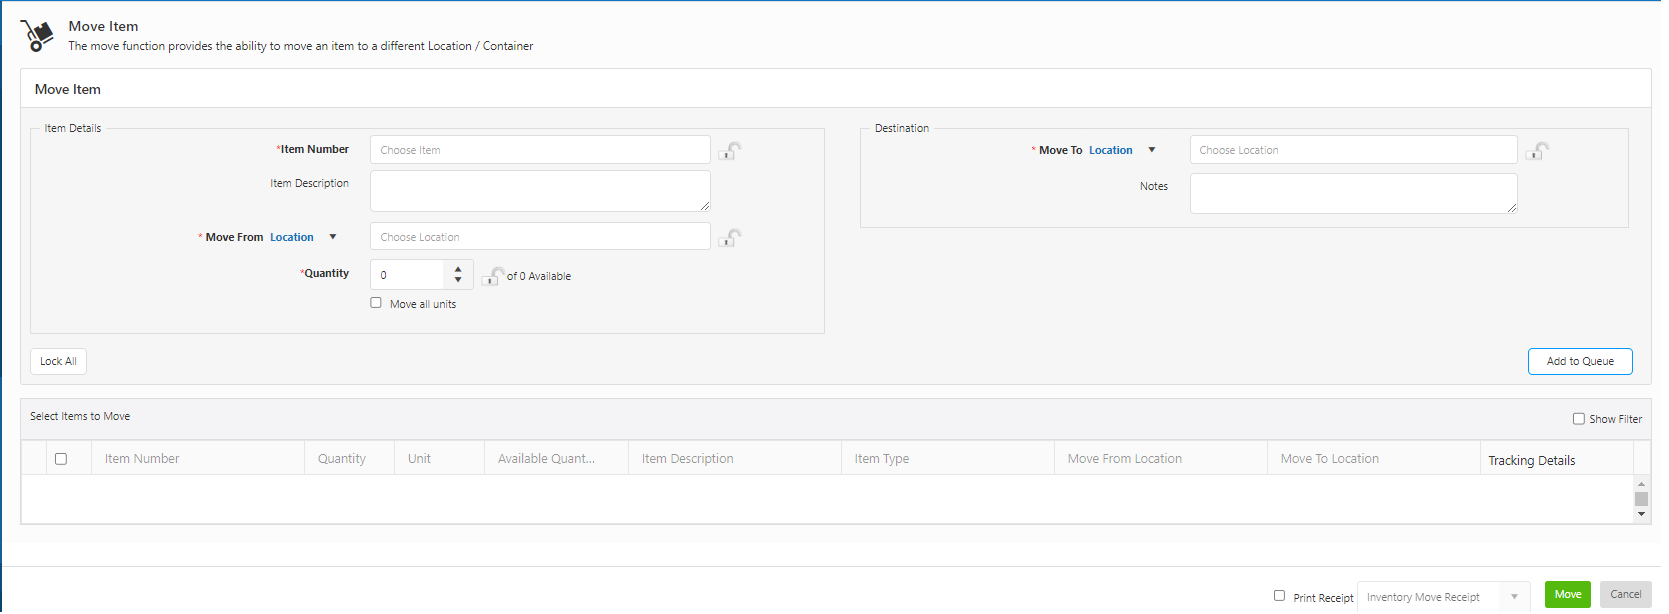
Item Details
- Item Number: Choose an item from the drop-down menu. The dropdown will display the Number, Description, and Type, where the Type may include item, container, container ID, serial number, etc. If you type the exact item number, the dropdown will display the matching item number.
Description: The description will automatically populate in the description field if a description was included during the initial inventory entry.
- Move From Location/Container: This field displays the current location of the selected item, which typically auto-populates once an item is selected. If the item exists in multiple locations and no primary location is specified, you can manually choose the correct location. Hovering over the selected field reveals the site and location name. For containers, it shows the site, location, container type, and container ID.
Note: The container functionality is planned for a future release.
- Quantity: Enter the amount you want to move in the Quantity field. If the item is tracked by serial number, the specific quantity will appear. The available quantity of the item is displayed at the bottom of the field.
- To move all units of the item, you can check the "Move All Units" option.
Destination
- Move To Location/Container: This field indicates the destination for the selected item or container. Choose "Container" from the "Move To" options. Hovering over this field shows details like site, location, container type, and container ID. Example: Moving a microscope to a container with ID "CID001".
Notes
- The location/container field is an autocomplete dropdown for selecting either locations or containers.
- If "Container" is selected but no matching containers are found (based on the search input), the dropdown automatically switches to search for locations.
- The same logic applies when "Location" is selected.
- The field label dynamically updates between "containers" and "locations" depending on the search results.
- When a location is chosen, the dropdown option will display site and location. If a container is selected, it shows the site, location, and container ID.
Moving a container to another container
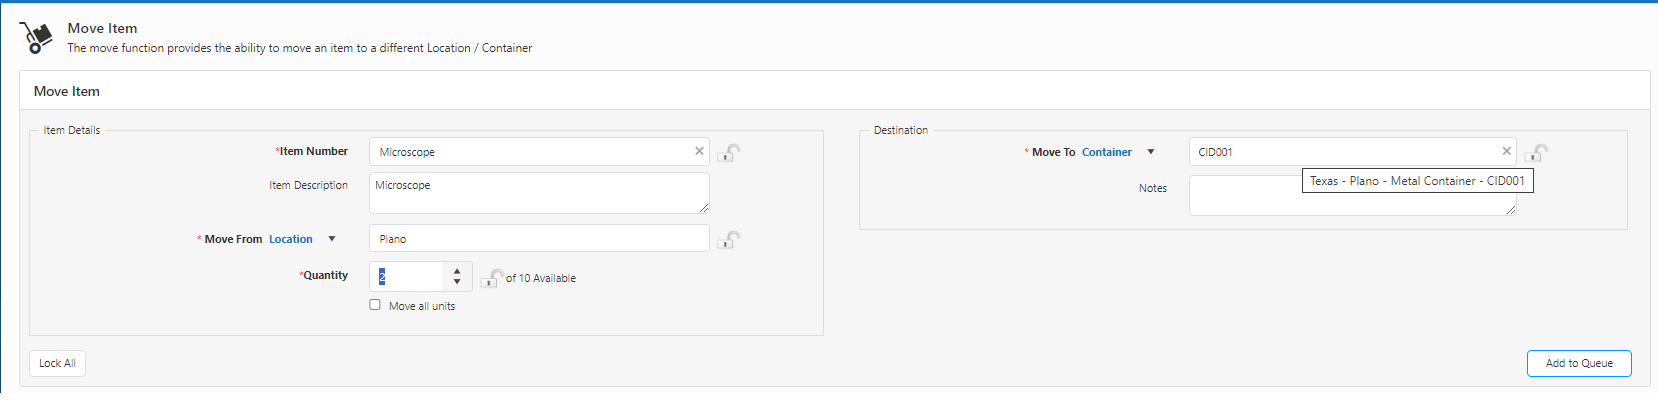
Item Details
- Item Number: Select a container from the drop-down list. Both tracked and untracked containers can be moved. If you type the exact container name or ID, the dropdown will directly display the matching container or ID for quick selection.

Description: The description will automatically populate in the description field if a description was included during the initial inventory entry.
- Move From Location / Container: This field shows the current location of the selected container. It typically populates automatically when a container is selected. Hovering over this field displays the site and location name. For containers, it also shows the site, location, container type, and container ID.
- Licensed Container: This checkbox appears for containers where some quantities have a Container ID while others do not.
- If the container already has a Container ID, the checkbox is automatically checked and set to read-only.
- If the container does not have a Container ID (i.e., it is untracked), the checkbox remains editable.
- Quantity: Enter the amount to move in the Quantity field. If the container is tracked by Container ID, the specific quantity will be displayed. The available quantity for the selected container appears at the bottom of the field.
Destination
- Move To Location / Container: Specify the destination for the selected container. Choose "Container" from the "Move To" field options. Hovering over this field displays the site, location, container type, and container ID.
Examples:
Moving a container with ID "HWC1" to another container with ID "LC1".
Moving an untracked container (no ID) to a container with ID "RC1".
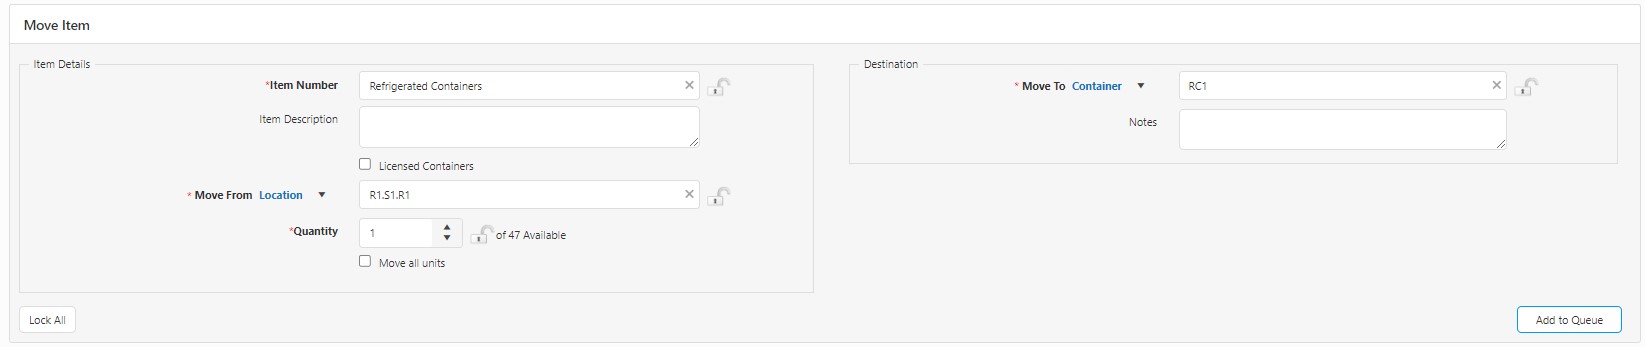
Moving an item/container to a location
Item Details
- Item Number: Choose an item or container from the drop-down list. If you type the exact item number, container name, or ID, the dropdown will directly display the matching item, container, or ID for quick selection.
Description: The description will automatically populate in the description field if a description was included during the initial inventory entry.
- Move From Location / Container: This field displays the current location of the selected item or container. It typically populates automatically once the selection is made. If the item is stored in multiple locations and no primary location is set, you can manually choose the correct location. Hovering over this field reveals the site and location name. For containers, it also displays the site, location, container type, and container ID.
- Quantity: Enter the quantity to move in this field. If the item is tracked by serial number, the specific quantity will be shown. The available quantity of the selected item is displayed at the bottom of the field.
- To move all units, select the "Move All Units" checkbox.
- If the selected item has tracking details, the "Tracking Details" button will appear. Use this to enter information such as serial number, lot number, or date. For more details, refer to the - Tracking Details topic.
![]()
Destination
- Move To Location / Container: Specify the destination for the selected item or container. Choose "Location" from the Move To field options. Hovering over this field displays the site and location name.
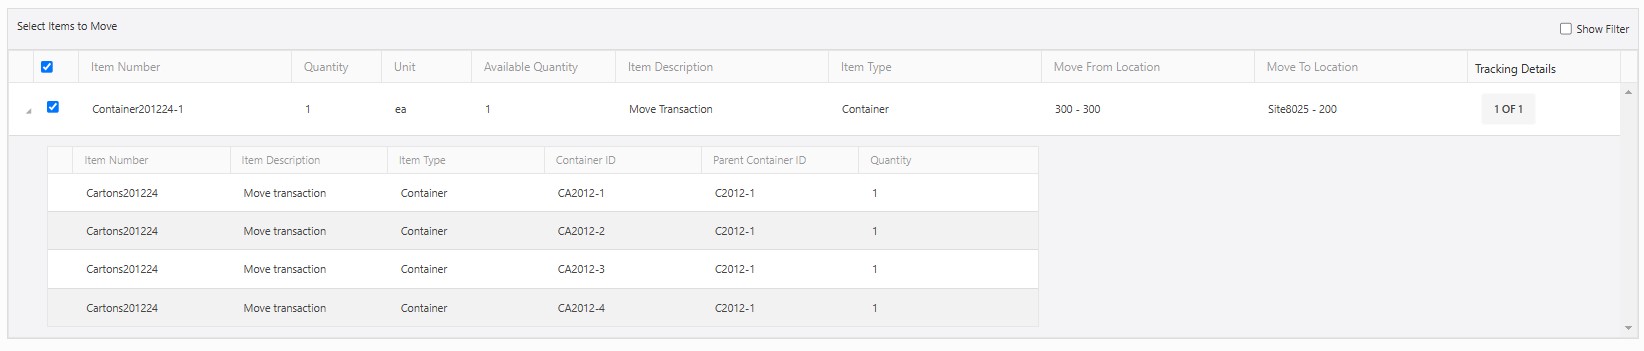
Select Items to Move Grid
- Adding Items to Queue: Click Add to Queue to move the selected item or container to the Select Items to Move Queue. Note that items in the queue are not yet moved.
- When moving a container that contains other items or containers: The parent container will appear at the top of the move queue. Expanding the parent container row will display all the child containers or items inside it. Upon expanding the row, the Parent Container ID will be displayed for easy identification.
Note that in this case, the move applies to the container as a whole. You are moving the entire container along with all its contents, including any child containers or items inside it.
- Updating Items in the Queue: To modify an item in the queue:
- Click the line item you want to update. The selected item will be highlighted in blue, and its details will populate in the Item Details section.
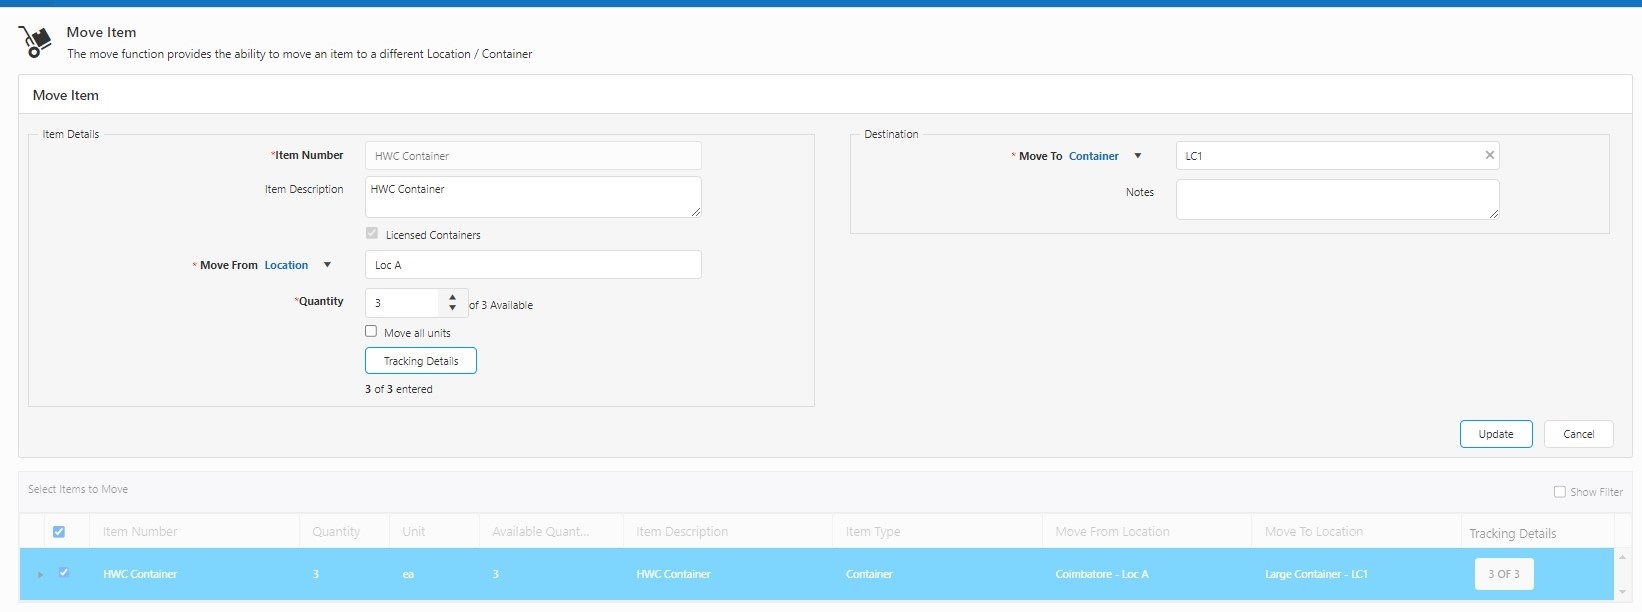
- Make necessary updates and click Update to save changes.
- Viewing Location Information - Hovering over the location column displays the site and location name. Hovering over a selected container shows the site, location, container type, and container ID.
![]()
Finalizing the Move
- Add More Items: Continue adding items to the queue as needed.
- Select Items to Move: Ensure all items to be moved are selected in the Select Items to Move Queue. By default, all queue items are selected.
- Print Receipt: To print a receipt for the transaction, select Print Receipt. If pop-ups are blocked, refer to the Popups and Redirects topic to resolve this issue.
- Complete the Move: Click the Move button to finalize the transaction.
Site-Item/Category Restrictions on the Move Transaction
During the move transaction, if the location selected in the move to location field has site-item/category restriction and if there is an item in the queue that does not fall in a permitted category, then the move transaction will fail and an error message will appear showing that all inventory items cannot be moved. The item will show a warning message that "Transaction disallowed due to existing site/category restrictions".

Note: Site-Item/Category Restrictions on the Add Transaction - If “Site-Item/Category filter” is applied on the web, then in mobile when looking up an item - if there are working sites set, then the items field will only show the items that have no category or categories within the selected sites. Similarly, if a location is already selected, then the items that have no category or categories within the site for the selected location will be shown.
When lookup up a location: if there is an item selected that has a category, then only show sites that have access to all categories or have access to the category of the selected item if the selected item has no category or no item selected, then the same behavior as before.
An alert “Item Category is not allowed at Site” will show on typing the restricted site name on the Site field.
Also, refer to the topic Site-Item/Category Filtering on the Edit Site page and Working Site for more details.